
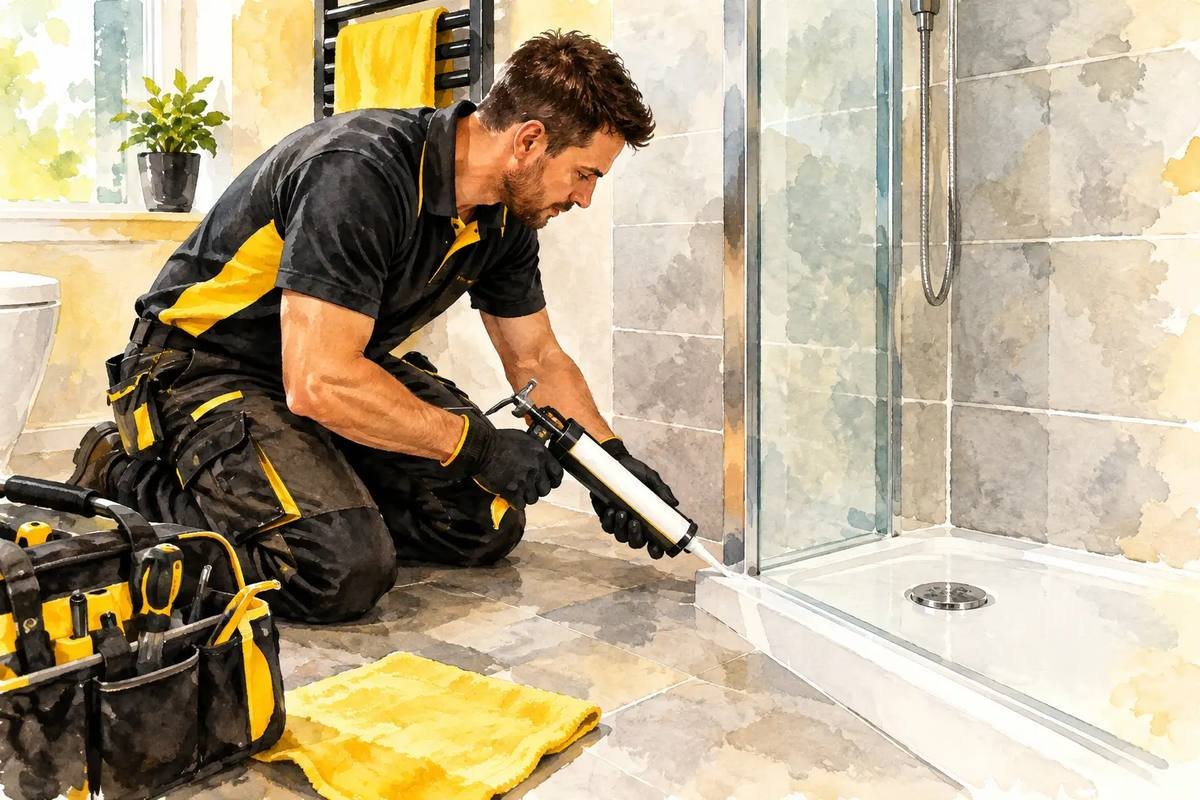
A dark, cracked line around a shower tray can look like a small cosmetic problem. Often, it is the first sign that water is finding its way behind the tray, into a wall, floor or ceiling below. Knowing how to reseal shower trays properly is less about squeezing on more silicone and more about preparation, movement and giving the new seal time to cure.
A neat reseal is a sensible maintenance job when the tray itself is sound and stable. If it moves underfoot, the tiles are loose, the floor feels soft, or there is staining in the room below, stop and investigate first. New silicone will not solve a failed tray installation or hidden water damage.
When does a shower tray need resealing?
Silicone does not last forever. Daily heat, moisture, cleaning products and slight movement between the tray and wall eventually cause it to lose its grip. Black mould that returns after cleaning, gaps at the corners, peeling edges and visible splits are all signs that replacement is due.
Do not assume every discoloured seal needs replacing immediately. Surface mould can sometimes be cleaned away if the silicone is still firmly bonded and unbroken. But if water can get behind it, or the seal has become brittle and patchy, replacement is the sensible option.
Pay particular attention to the vertical corners and the long edge where the tray meets the tiled wall. These are the areas that take the most spray and are most likely to show movement.
What you need before resealing a shower tray
The job is straightforward, but the finish depends on using the right materials. Buy a good-quality sanitary silicone labelled for bathrooms and kitchens, with mould resistance. Most shower trays and tile finishes suit clear or white, although a colour-matched product can look better where grout is a strong shade.
You will also need a silicone gun, a sharp sealant-removal tool or scraper, a craft knife, a vacuum or brush, clean cloths, and methylated spirits or an appropriate surface cleaner. A silicone finishing tool helps produce a consistent bead, particularly if this is your first attempt.
Avoid using a general-purpose decorator's caulk. It may look fine initially, but it is not designed to remain waterproof and flexible in a shower enclosure.
Step one: Remove every trace of the old sealant
This is the part people rush, then regret. Cut along both edges of the existing silicone carefully and peel away as much as possible. Keep the blade angled away from the tray and tiles so you do not scratch the surfaces.
The visible bead is only part of the old seal. Small, stubborn traces left on either surface can prevent the fresh silicone bonding properly. Use a suitable silicone remover if needed, following the product instructions, then scrape gently again.
Once the joint is clear, vacuum out loose debris. Wipe the tray edge and tiles with methylated spirits or a cleaner that leaves no residue. The surfaces must be clean, dry and grease-free before you apply anything new.
This is also the moment to check the gap. A narrow, even joint is ideal. A very wide or uneven gap may point to poor fitting, movement, or a tray that has dropped slightly. Silicone can bridge a modest gap, but it should not be expected to fill a large void or hold a shower tray in place.
Step two: Check whether the shower tray moves
Before sealing, stand in the tray and shift your weight gently around it. If it flexes or rocks, do not reseal it yet. The seal will split again because the tray is moving independently of the wall.
This can happen where a tray has not been properly supported, where fixings have worked loose, or where the floor beneath has deteriorated. The correct repair depends on how the tray was installed, and it may mean removing part of the enclosure or access panel. It is better to deal with that cause than repeatedly applying silicone every few months.
If the tray is solid, clean and dry, you can move on. Some fitters recommend filling the tray with water before sealing so it sits under a realistic load while the silicone cures. This can help where there is minor normal settlement. It is not a cure for noticeable movement, and care is needed not to splash the freshly prepared joint.
Step three: Apply a continuous bead of sanitary silicone
Cut the nozzle at roughly a 45-degree angle. Start with a small opening - you can always make it wider, but a nozzle cut too large makes a heavy, messy bead difficult to control.
Apply the silicone in one steady movement along each joint. Keep even pressure on the trigger and aim to push the sealant into the gap rather than simply laying it over the top. Work one manageable length at a time if the tray is large.
A continuous bead matters. Stopping and starting repeatedly can leave weak points, especially at corners. Where two runs meet, overlap them slightly and tool the join together while the silicone is still fresh.
There is no need to build an oversized ridge of sealant. A tidy bead that contacts both surfaces fully is stronger, easier to clean and less likely to collect soap residue.
Use masking tape if you want sharper edges
Masking tape is useful on smooth tiles and trays where you want a particularly crisp line. Run it parallel to the joint on both surfaces, leaving the width you want for the finished bead. Apply and smooth the silicone, then carefully remove the tape straight away.
Do not leave tape until the sealant skins over. It can tear the edges and spoil the line you have just made.
Step four: Tool the bead once, then leave it alone
Use a silicone profiling tool, or a lightly dampened finger if you are confident, to smooth the bead in one pass. The aim is a shallow concave finish that presses the sealant firmly onto both sides of the joint.
Too much washing-up liquid can interfere with adhesion, so use it sparingly if you use it at all. A purpose-made finishing spray is usually the cleaner option. Wipe away excess immediately with a cloth, but do not keep going back over the bead. Reworking silicone once it has started to skin usually leaves a rough finish.
Corners deserve a little extra attention. Press the silicone into the corner rather than dragging it out, as this is where water is most likely to test the seal.
How long should a resealed shower tray stay dry?
Read the tube, because curing times vary by product and room conditions. As a safe rule, keep the shower completely dry for at least 24 hours. In a cold bathroom, or where the bead is thicker, 48 hours is safer.
That means no shower, no rinsing the enclosure and no cleaning around the tray. Good ventilation helps the sealant cure, but do not direct a heater closely at it in an attempt to speed things up.
If the shower is the only one in the house, plan the job around a time when it can be left alone. A well-applied seal ruined by an early shower is frustrating and entirely avoidable.
Common resealing mistakes to avoid
The most common mistake is applying new silicone over old. It may hide staining for a short while, but the bond is only as good as the failing layer underneath. Another is sealing onto damp tiles or a tray that still has cleaner residue on it.
People also miss the cause of repeated failure. If mould returns rapidly, improve extraction and drying after showers. If the silicone keeps splitting in the same place, look for tray movement or a gap that is too wide. If water appears outside the enclosure, check the door seals and shower screen alignment as well as the tray joint.
For landlords, it is worth dealing with a failing seal early between tenancies or as part of planned bathroom maintenance. It is a small piece of work compared with repairing swollen flooring, damaged plasterboard or a stained ceiling below.
When to hand the job over
Resealing is a reasonable DIY task when the tray is stable and the old silicone comes away cleanly. It becomes less simple when tiles need refixing, the tray moves, there is damp behind the wall, or the enclosure needs to be removed and refitted.
For homeowners and landlords in Swindon, this is the sort of practical bathroom maintenance job that can be added to a wider list of repairs where appropriate. A clear photo of the tray edge and any visible damage makes it easier to judge what is likely to be involved before booking time.
A fresh silicone line should be almost unremarkable: even, clean and doing its job quietly. Give the preparation as much care as the application, let it cure fully, and you will have a shower tray that stays easier to clean and far less likely to leak.
Want to book?
I'm a one-man handyman service in Swindon — insured, DBS checked, and rated 4.9 on Google. 3-hour sessions cover Swindon (town); full days cover about 30 minutes around Swindon.
Book a session, or message me free on WhatsApp on 07729 689420. If you'd rather talk it through first, you can book a paid 20-minute video call.
