
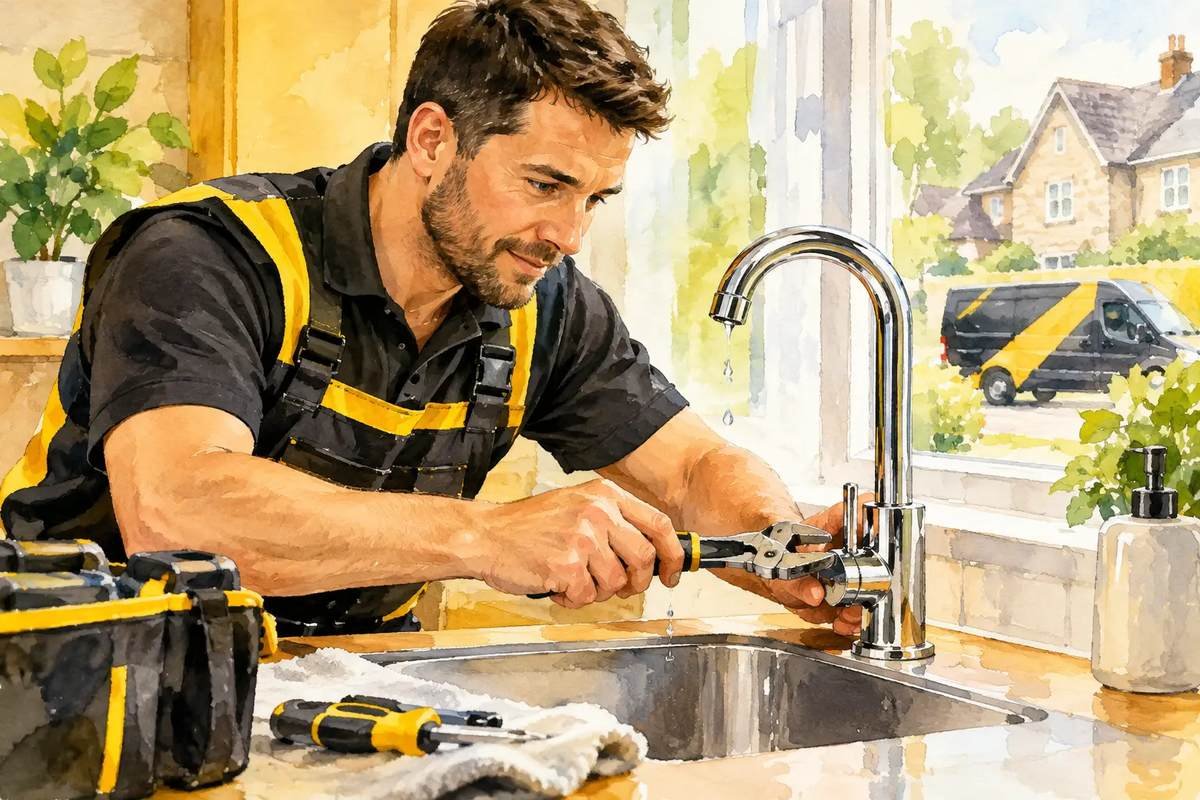
That steady plink into the basin is easy to ignore for a day or two. Then it becomes the sound you hear at night, the tap starts leaving a mark around the plughole, and you wonder whether a small repair is about to turn into a bigger one. Knowing how to fix dripping taps can save water and annoyance, but the right method depends on the tap you have and whether you can isolate the water safely.
Most drips come from a worn internal part rather than a faulty tap body. On older separate hot and cold taps, it is often a washer. On many modern mixer taps, the likely culprit is a ceramic cartridge. Both are repairable in principle, but forcing a seized fitting or fitting the wrong replacement part can create a leak where there was not one before.
First, work out where the drip is coming from
A drip from the spout after the tap has been turned off usually points to the valve inside the tap. A leak around the handle, however, may be caused by a worn seal, loose gland nut or cartridge. Water appearing in the cupboard below the sink can be a loose connection, damaged flexi hose or issue around the waste fitting, rather than the tap itself.
Take a minute to dry the area and watch carefully. This simple check matters because a tap that drips into the basin is one job; water travelling into a kitchen unit, vanity unit or floor is another. If there is any sign of water near electrical items or a persistent leak you cannot isolate, stop using that fitting and arrange help rather than taking chances.
Before you fix a dripping tap, isolate the water
Do not start dismantling a tap while it is still live. Look beneath the basin or sink for small isolation valves on the pipework. These usually have a slot in the screw head and are turned a quarter turn with a flat screwdriver, so the slot sits across the pipe. Run the tap afterwards to confirm the supply has stopped.
Not every property has accessible isolation valves, particularly around older bathroom fittings. In that case, you may need to turn off the main internal stopcock. It is worth knowing where this is before a problem occurs. It is commonly under the kitchen sink, in a utility area or close to where the mains pipe enters the home, but layouts vary.
Once isolated, plug the basin or put a cloth over the waste. Tiny screws, caps and clips have an impressive ability to disappear down a plughole at exactly the wrong moment. Put a towel in the basin too, as it protects the surface from dropped tools.
A sensible basic toolkit
For many tap repairs, you will need an adjustable spanner, flat and crosshead screwdrivers, an Allen key set, a cloth and a small container for parts. A pair of grips can help, but use them carefully. Wrapping a cloth around chrome fittings reduces the chance of marking them.
You may also need a replacement washer, O-ring or ceramic cartridge. This is the part where rushing costs time. Tap parts are not one-size-fits-all, so remove and identify the old component before buying a replacement where possible.
How to fix dripping taps with a traditional washer
Traditional pillar taps are common in older kitchens, cloakrooms and bathrooms. They have separate handles for hot and cold water and usually need several turns to open or close. Inside is a tap valve, often called a headgear, with a rubber washer at the bottom.
Start by removing the decorative cap on top or front of the handle. It may prise off gently with a small flat screwdriver. Beneath it is normally a retaining screw. Undo this, then lift off the handle. If it has not moved for years, do not lever aggressively against the basin. A little patience and gentle movement is safer than cracked ceramic or damaged chrome.
With the handle off, use an adjustable spanner to undo the valve assembly. Turn it anti-clockwise and lift it out. At the bottom, you should find the washer held in place by a small screw or sitting on a spindle. If it looks flattened, split, hard or uneven, replace it with one of the same size.
Check the valve seat inside the tap body while you are there. This is the surface the washer closes against. A badly pitted or rough seat can stop a new washer from sealing properly. It may be possible to dress the seat with the correct tool, but this is where a straightforward washer change can become less straightforward. If the seat is damaged, replacing the valve assembly or seeking help is often the more reliable route.
Reassemble the tap in reverse order, taking care not to cross-thread anything. Turn the water back on slowly and test the tap. It is normal to need a slight adjustment if the gland nut around the spindle seeps, but do not overtighten it. Too much pressure can make the handle stiff or damage the seal.
Repairing a dripping mixer tap cartridge
Mixer taps vary far more than traditional taps. A single-lever tap commonly uses a cartridge that controls both flow and temperature. Modern bathroom taps with two separate handles may also use ceramic cartridges rather than washers. They tend to turn only a quarter or half turn.
The process begins much the same way: isolate the water, remove the handle and expose the retaining nut or collar. On a lever tap, there is often a small grub screw tucked behind a red-and-blue indicator cap or underneath the lever. An Allen key is usually needed.
Once the handle is removed, take a clear photo of the cartridge before lifting it out. Note its height, diameter, locating pins, spline pattern and the direction it sits. Those details matter when sourcing a replacement. A cartridge that looks nearly identical can still fail to fit or can reverse the hot and cold controls.
Remove the retaining nut carefully, then lift out the cartridge. Clean away limescale or debris from the housing with a cloth. Avoid scratching the inside of the tap body or using anything that may damage the sealing surfaces. Fit the new cartridge in the same orientation, replace the retaining nut and put the handle back on.
Before declaring the job done, open the isolation valves slowly and test both hot and cold settings. Check around the base of the handle and beneath the sink as well as at the spout. A dry tissue is useful for spotting a very small seep that your eye might miss.
When a tap repair is better left alone
There is no prize for turning a ten-minute task into a Saturday spent without water. Stop and reassess if the tap body is badly corroded, the handle will not come off, pipework moves when you apply pressure, or an isolation valve will not fully shut off. The same applies if you find a cracked fitting, persistent leak below the worktop or signs that water has affected the unit behind the basin.
Hard-water areas can make tap repairs more stubborn because limescale binds parts together. Penetrating fluid and time may help with certain metal fittings, but it should be kept away from surfaces where it could stain or contaminate the water path. Never use excessive force on a tap fixed to a ceramic basin, thin worktop or wall-mounted fitting.
For landlords and property managers, it is also worth considering the wider condition of the fitting. Replacing a cheap washer repeatedly may not be good value if the tap is worn, loose or difficult for tenants to operate. A planned repair or replacement is usually less disruptive than waiting for a small leak to damage a cupboard.
A practical way to get the job finished
If you are confident you have the right part and can isolate the supply, a dripping tap is often a manageable home repair. Keep the old washer or cartridge, take it with you when buying a replacement, and allow enough time to test everything properly afterwards.
If you would rather not dismantle plumbing fittings, add the dripping tap to your household job list. For homeowners and landlords in Swindon, Handyman Plus Van can tackle suitable plumbing-related repairs alongside other planned maintenance during a bookable visit. Clear photos of the tap and a note of where it is leaking make planning easier.
A dripping tap rarely improves by itself. Deal with it while it is still a small, contained job, and you are far more likely to keep the repair simple, dry and stress-free.
Want to book?
I'm a one-man handyman service in Swindon — insured, DBS checked, and rated 4.9 on Google. 3-hour sessions cover Swindon (town); full days cover about 30 minutes around Swindon.
Book a session, or message me free on WhatsApp on 07729 689420. If you'd rather talk it through first, you can book a paid 20-minute video call.
